Hikvision Live Streaming Made Easy
Step-by-Step Setup Guide using SADP Tool and camera web interface

Welcome to our step-by-step guide on setting up your Hikvision camera for an impressive live streaming experience. We'll walk you through the process, making it as remarkable and straightforward as possible. So, let's dive right in!
Step 1: Download the SADP Tool
First, you need a tool to find the camera on the network. Start by downloading the SADP tool from the official Hikvision website. You can get it here.

Step 2: Connect Your Hikvision Camera
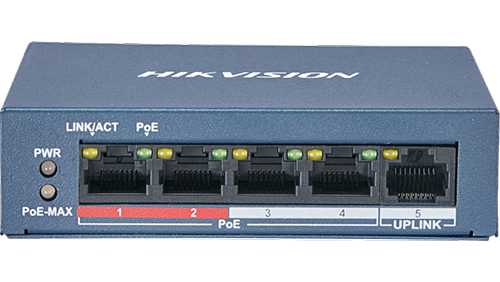
With the software in your arsenal, it's time to connect your Hikvision camera to the network. Plug it into a POE-capable data switch or use a regular switch with a POE injector (802.3af compatible). Get ready to bring your camera to life!
Step 3: Activate Your Camera
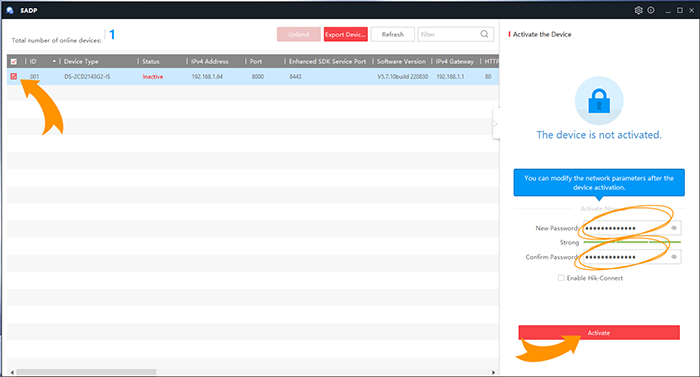
If this is the first time you are using your camera, you need to activate it by setting a new password:
- Launch the SADP application.
- Select your camera and set a new password. Activate it to ensure security.
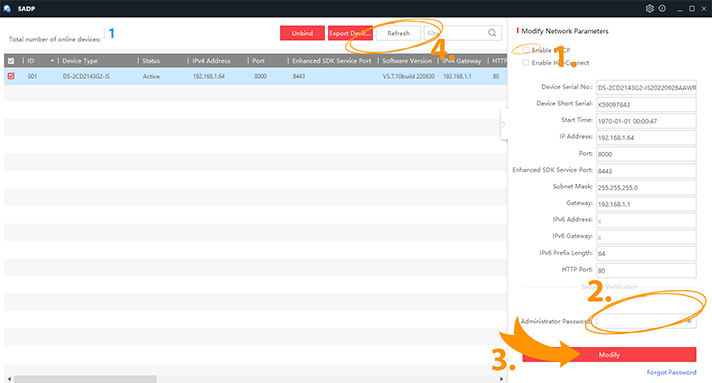
Step 4: Network Setup
Time to set up your network. Double-click on your camera and choose one of two options:
- Option 1: Let your router handle it with DHCP for simplicity.
- Option 2: Take control with manual IP assignment for stability. In this case, your IP settings will remain constant. For now, we recommend DHCP for ease of use.
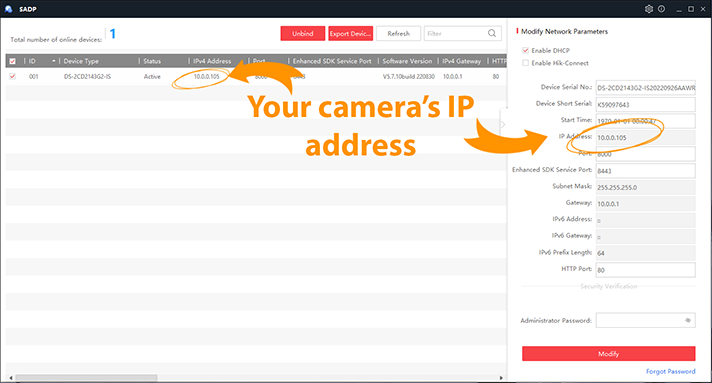
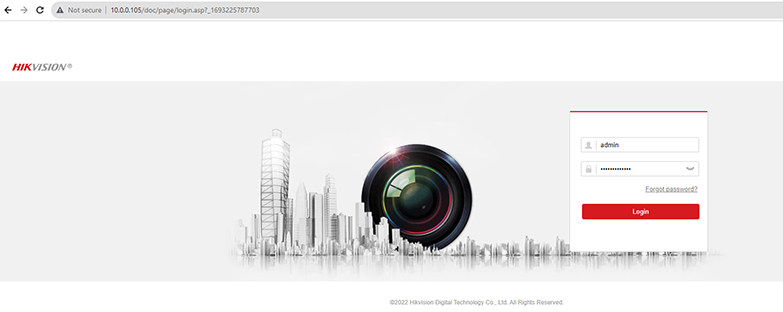
Step 5: Access Your Camera
Your camera is now accessible from a web browser using the IP address you noted earlier. Open your browser and enter the IP address into the address bar.
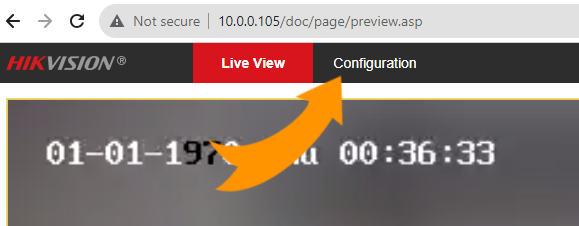
Step 6: Configure Video and Audio Settings
After logging in with the password you created earlier (username: admin), go to the Configuration menu and click on the Video/Audio option.
Step 7: Configure Video and Audio Settings
After logging in with the password you created earlier (username: admin), go to the Configuration menu and click on the Video/Audio option.
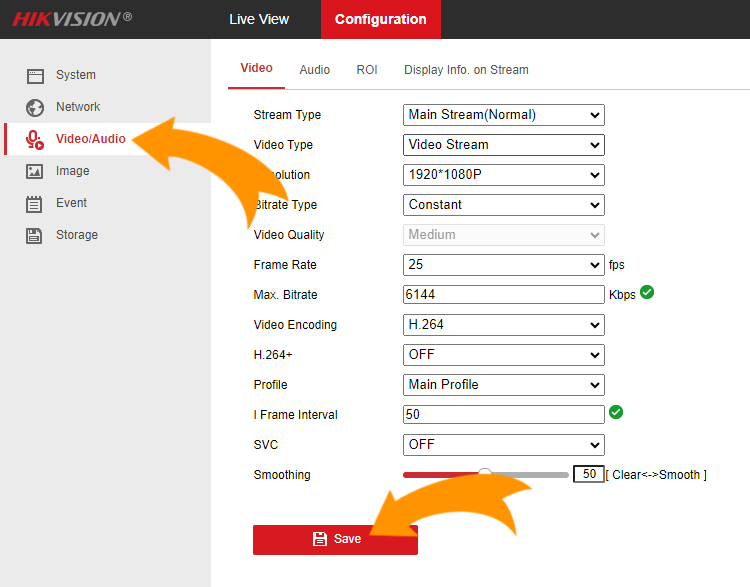
Video settings for live streaming
Here are some recommended settings:
- Stream Type: Use "Main Stream" for live streaming.
- Video Type: Skip if audio isn't essential or if you have slow upload speeds.
- Resolution: Stick with 1080p for optimal live streaming (4K is supported in the Ultimate plan).
- Bitrate Type: Set it to Constant for top-notch performance.
- Frame Rate: Match the recommended settings below.
- Max. Bitrate: As specified in the table below.
- Video Encoding: H.264 is ideal for live streaming; however, if there are constantly changing details on the screen, such as the sea, then you should consider using H.265 video compression (available in the Ultimate plan).
- H.264+: Keep it OFF for a stable livestream.
- Profile: Use "Main Profile."
- I Frame Interval: Double the Frame Rate for smooth keyframes.
- SCV: Keep it off for stability.
- Smoothing: Maintain a balance and leave it at 50.
Bitrate settings for live streaming
Here are the recommended settings based on IPCamlive.com subscriptions:

And there you have it! Your Hikvision camera is ready to roll with a cool live stream.
Happy streaming! 📷🎥🌟 IPCamLive.com